DIY Wedding Flowers
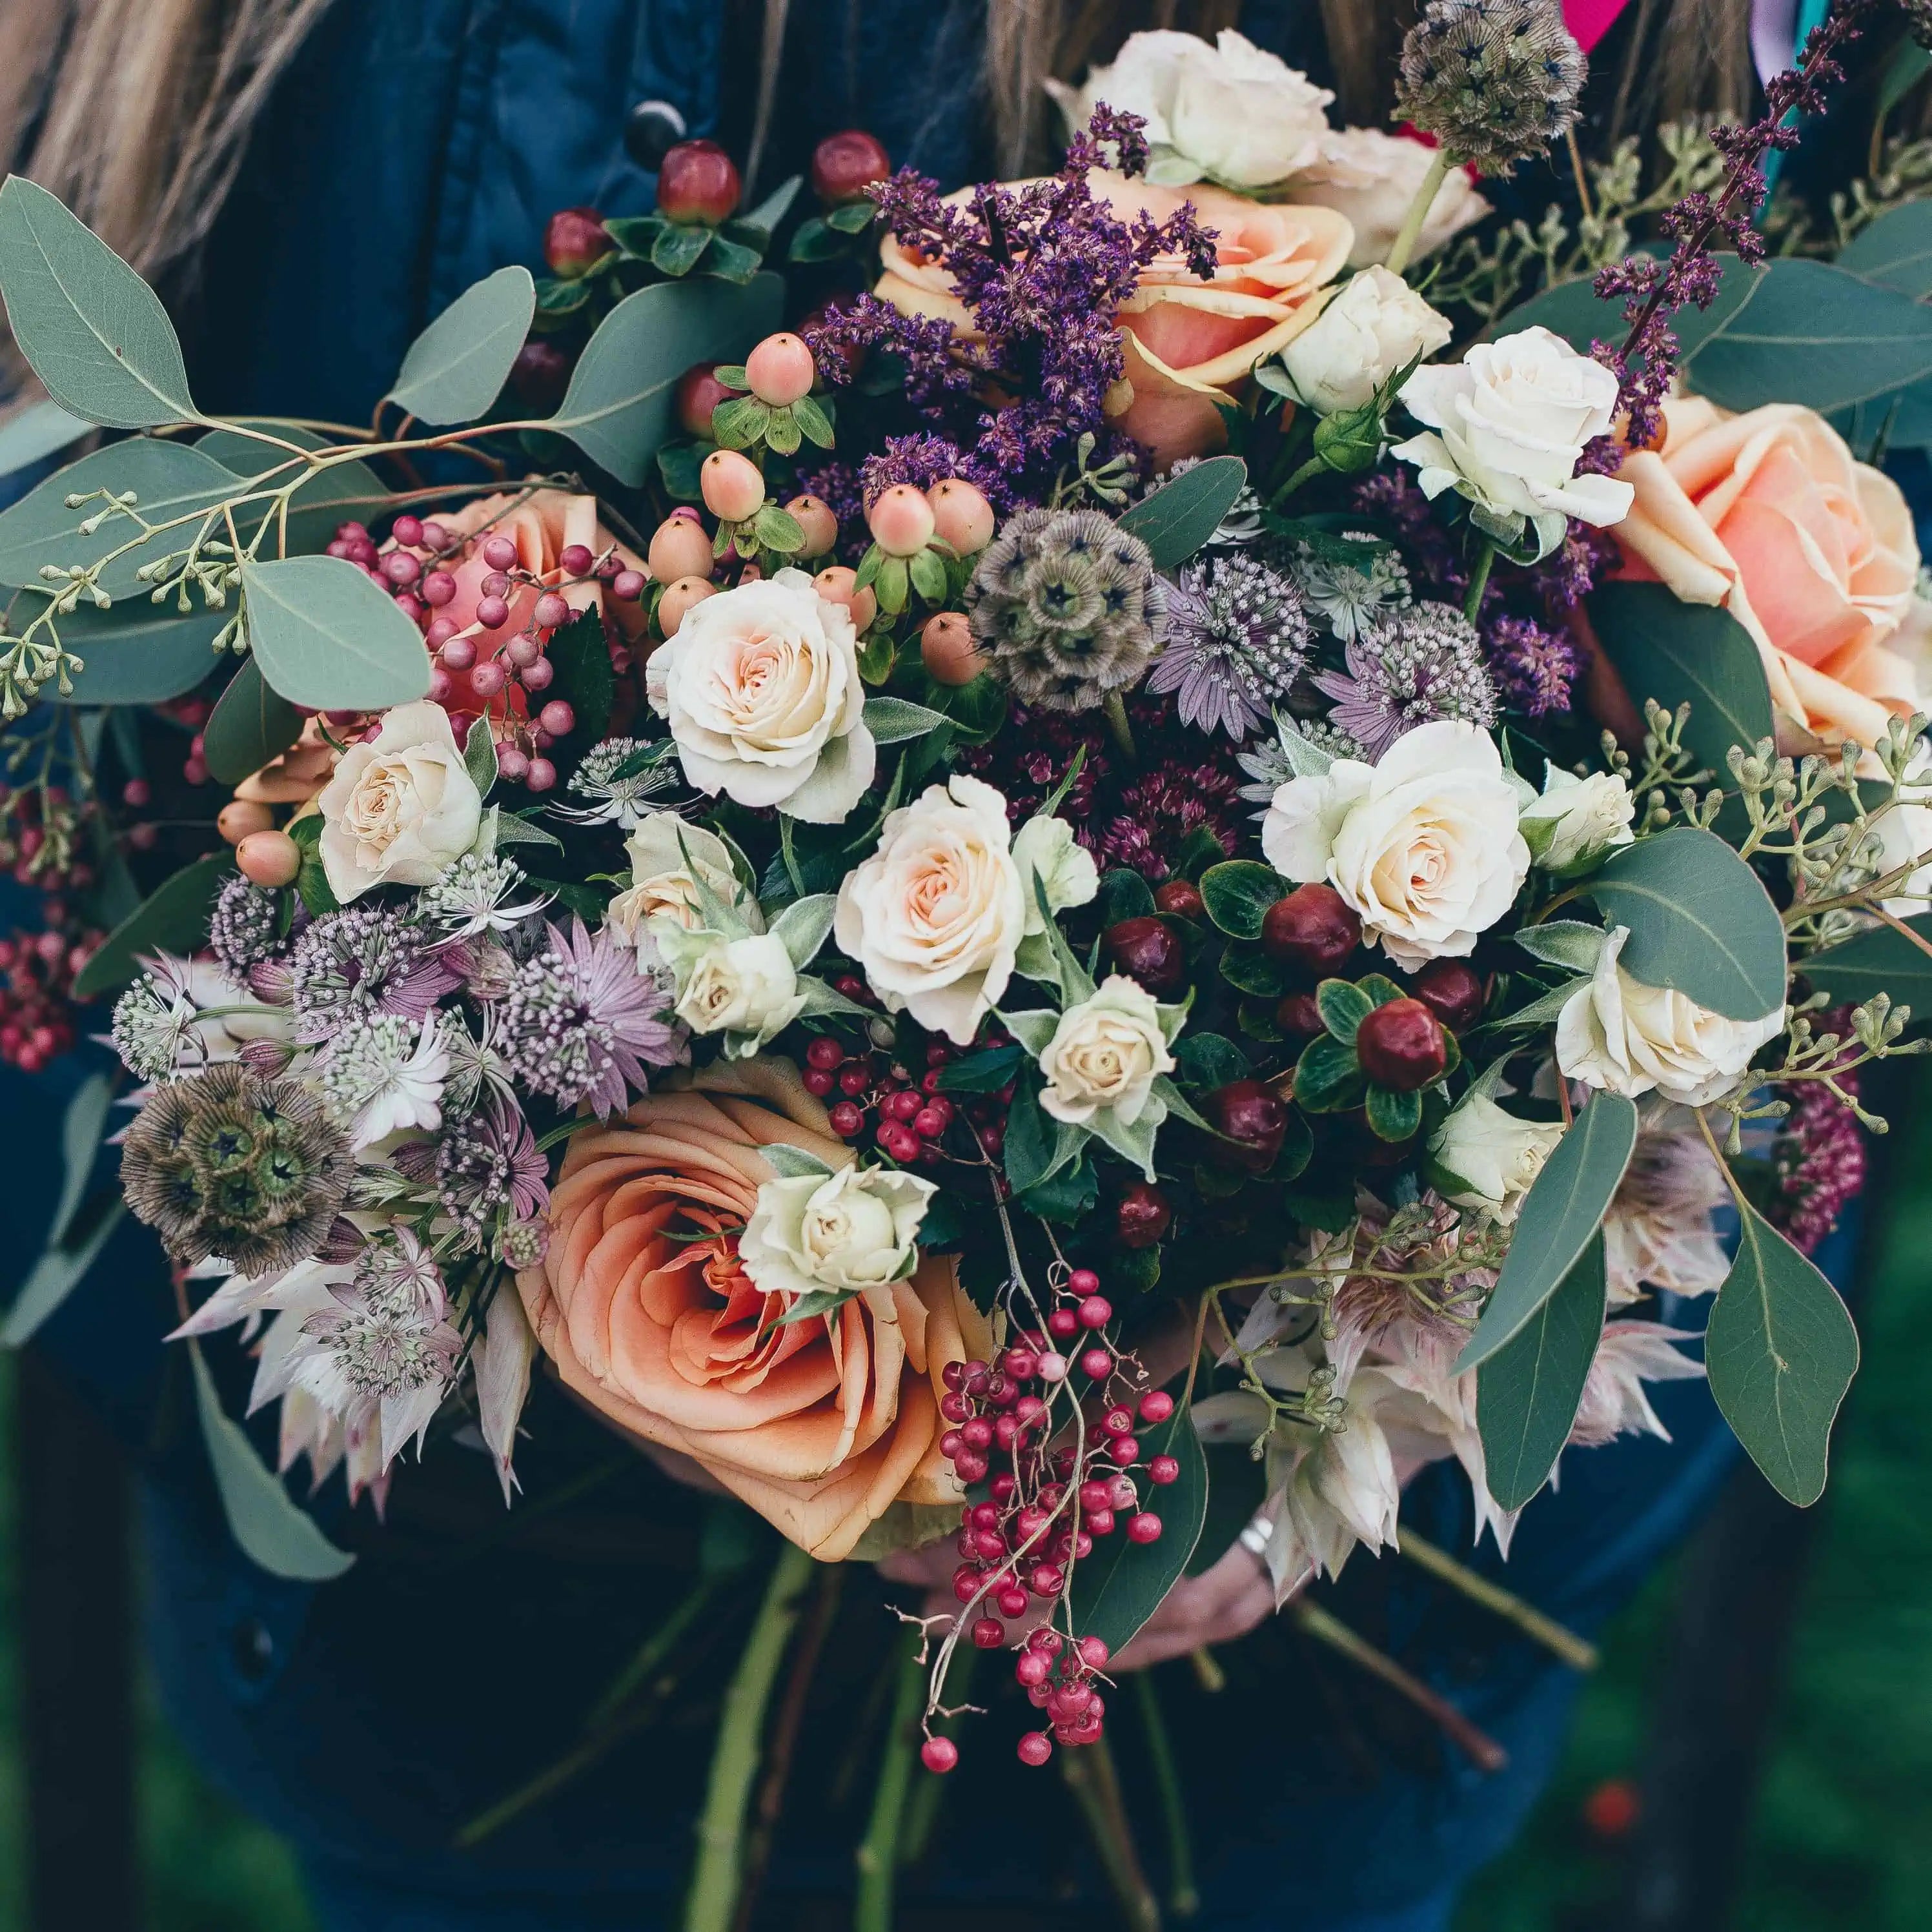
Wedding Flowers, with a personal touch.
Delivering Wholesale Wedding Flowers for brides and families accross Ireland. Start your Do-it-youreself journey here with our flower options, DIY guides and support from the experts.
How it works - DIY Flowers
1. Decide what you need.
Identify the arrangements you need. We have everything needed to DIY your wedding flowers. Our wholesale products cover everything listed below (and more..):
- Brides bouquet
- Bridesmaids bouquet
- Grooms and Groomsmen Buttonholes
- Ceremony Centerpiece
- Table Centerpiece
- Pew Ends
- Flower Girls Headpeice & Baskets
- Wrist Corsages
2. Choose your flowers
The fun part - choose what flowers will feature at your wedding. Choose from the following sections:
- Roses
- Decorative & Supplemental Flowers
- Greenery & Colour Splash
- Accessories
- Containers and Pedestals
3. Order what you need.
Order with a delivery date at least 5 days in advance of your wedding. Contact us in advance if you need help.
Choose your Wedding Flowers - Roses
Swipe or use the arrows to browse
Decorative and Supplemental Wedding Flowers
Choose your Greenery and Colour Splash
Accessories you might need
Floral Foam, Containers and Pedestals
DIY Guides
Need some help making your dream flowers for your big day? Here are some helpful guides for Do-it-yourself wedding flowers:
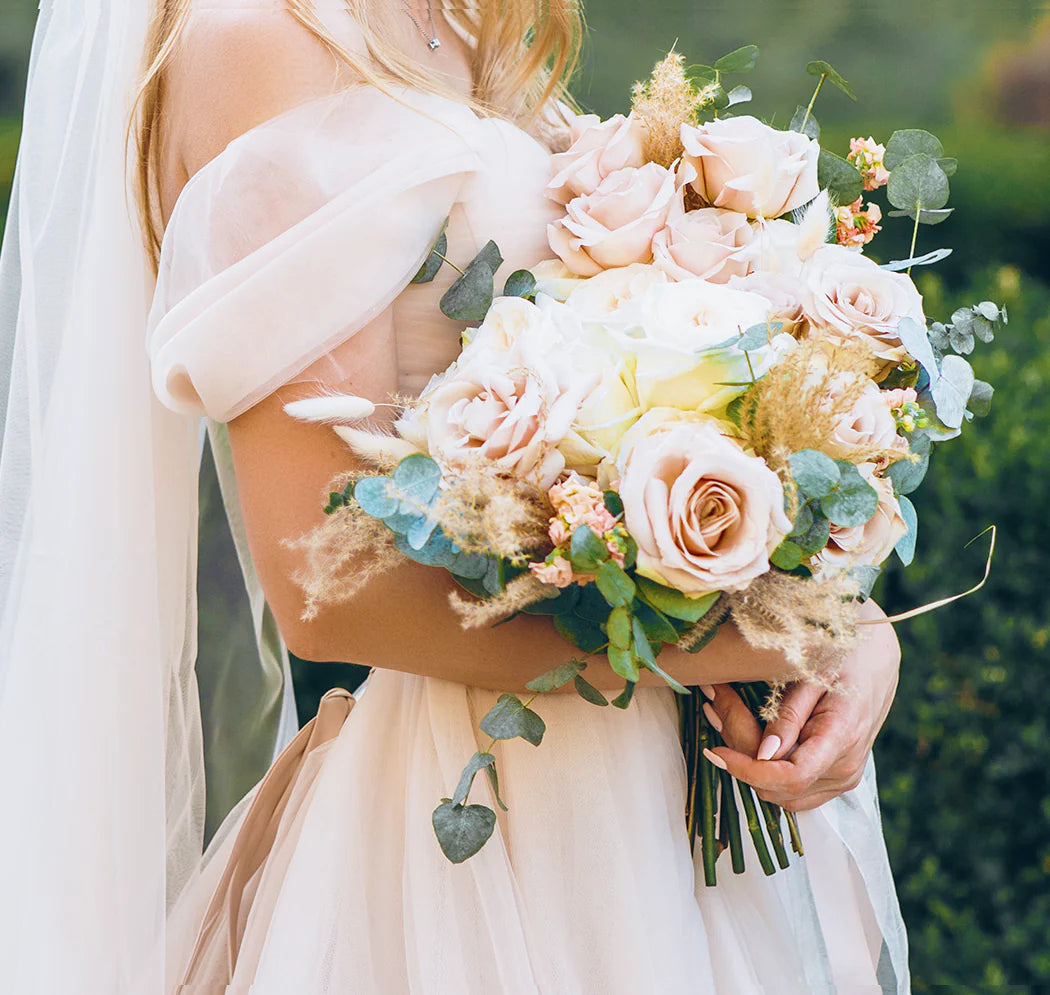
White Rose Bouquet - DIY Wedding Guide
How to make a White Rose Bouquet - Difficulty Easy
Creating a white rose wedding bouquet is a timeless choice that exudes elegance and simplicity. Here's a step-by-step guide to help you create your own beautiful bouquet.
Materials Needed:
• White roses (20-30 stems, depending on bouquet size)
• Filler flowers (optional, like baby’s breath or small white flowers)
• Greenery optional (e.g., eucalyptus, ferns, or ivy)
• Floral tape
• Floral wire (optional, for extra support)
• Ribbon (white or a color matching your wedding theme)
• Pins (pearl-headed or decorative for securing the ribbon)
• Flower scissors or pruning shears
• Bucket of water (to keep flowers fresh while you work)
• Thorn stripper (optional, for removing thorns from rose stems)
Step 1: Select and Prepare the Roses
1. Choose the Roses: Select fresh white roses with closed or slightly open buds. Roses should be free of blemishes.
2. Prep the Stems: Remove any leaves and thorns from the lower part of the stems using a thorn stripper or your hands. Leave some leaves near the top if you prefer a more natural look.
3. Trim the Stems: Cut the stems at a 45-degree angle to allow better water absorption. Place them in a bucket of water until you're ready to use them.
Step 2: Arrange the Roses
1. Start with a Central Rose: Hold your first rose in one hand. This will be the center of your bouquet.
2. Add More Roses: Begin adding roses around the central rose in a circular pattern, slightly angling the stems outward as you go. Keep the heads of the roses at the same level for a rounded bouquet, or gradually angle the stems more for a more dome-shaped bouquet.
3. Incorporate Filler Flowers (Optional): If you’re using filler flowers like baby’s breath, add them evenly around the bouquet for a balanced look.
4. Add Greenery (Optional): Place sprigs of greenery around the roses. You can add greenery in between roses or as a border around the outside.
Step 3: Secure the Bouquet
1. Bind the Stems: Once you’re satisfied with the arrangement, wrap the stems tightly with floral tape starting just below the blooms. Wrap about 4-5 inches down the stems, securing all the flowers in place.
2. Reinforce with Wire (Optional): For extra stability, you can insert floral wire through the base of the flower heads and twist it around the stems before wrapping with tape.
Step 4: Add Ribbon and Finishing Touches
1. Wrap with Ribbon: Cut a length of ribbon and start wrapping it over the floral tape, starting from the top and working your way down. Make sure to cover the tape entirely.
2. Secure the Ribbon: Once you’ve wrapped the stems, use pearl-headed pins to secure the ribbon in place. Insert the pins at an angle so they are less likely to poke through.
3. Trim the Stems: Cut the stems evenly at the desired length. Typically, bridal bouquets have stems around 6-8 inches long.
4. Final Adjustments: Fluff the roses and adjust any greenery or filler flowers to ensure the bouquet is symmetrical and full.
Step 5: Store and Transport the Bouquet
1. Keep it Fresh: Place the finished bouquet in a vase with a small amount of water, ensuring the ribbon doesn’t get wet. Keep it in a cool place until the wedding.
2. Transporting: If you're not the one carrying it to the venue, make sure it’s securely wrapped in tissue paper and placed in a sturdy box for transportation.
Tips:
• Timing: Make the bouquet the day before or the morning of the wedding to keep the roses fresh.
• Practice: If this is your first time, practice with a few stems beforehand to get comfortable with arranging and securing the flowers.
Headtable Centerpeice - DIY Wedding Guide
How to make a Headtable Centerpiece - Difficulty Medium
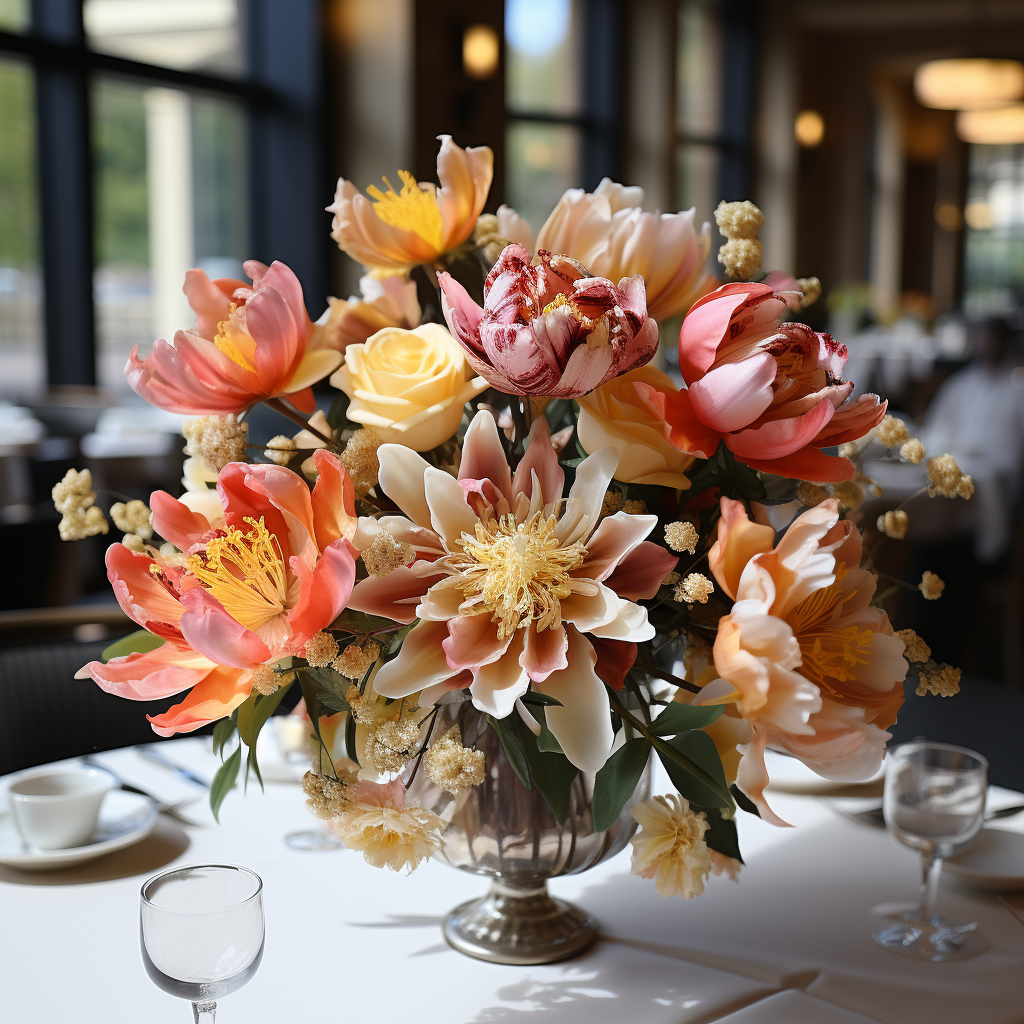
The head table centerpiece is important as it frames the newlyweds and is often photographed. It should complement the wedding’s overall décor and color palette without overpowering the table setting.
Materials Needed:
• Flowers: Choose a mix of focal flowers (like roses, peonies, or hydrangeas) and filler flowers (such as gyp or wax flowers).
• Greenery: Eucalyptus, palm or ruscus.
• Vases or floral foam: Use low, long containers for a linear arrangement, or floral foam for stability.
• Candles: Taper, pillar, or votive candles to add warmth.
• Florist wire and tape
• Flower clippers / scissors
• Decorative items: Crystals, ribbons, or small ornaments that fit your wedding theme.
Step 1: Choose the Style
1. Decide on the style of centerpiece:
2. Low and long garland: Perfect for a linear look across the head table.
3. Grouped arrangements: Use small clusters of flowers spread across the table.
4. Floral runner: Flowers and greenery woven along the table’s length.
Step 2: Create the Floral Base
1. Prep the Flowers: Trim the stems of your chosen flowers to an appropriate length. If using floral foam, soak it in water for a few minutes and place it in the container.
2. Add Greenery First: Start with greenery to create a base. Lay it in a garland style for a low arrangement or insert it into the foam for stability in a grouped display.
3. Mix Flower Heights: Place larger focal flowers (like roses) in the center or across the arrangement. For garlands, keep the flowers lower and evenly spaced along the greenery. Use smaller filler flowers to add depth and texture.
Step 3: Add Decorative Elements
Candles: Place candles in between the floral arrangements or weave them into the garland. Make sure they are not too high to obstruct views across the table.
Other Decorations: Incorporate crystals, beads, or small wooden items that match the theme (e.g., rustic wood slices or golden accents for a luxe look).
Step 4: Balance and Symmetry
1. Keep it Symmetrical: Ensure that both ends of the centerpiece have a balanced mix of flowers and greenery, especially for long garlands.
2. Avoid Overcrowding: Leave enough space for place settings, glassware, and plates. The arrangement should enhance the table, not overwhelm it.
Ceremony Centerpeices - DIY Wedding Guide
How to make a Ceremony Centerpeice - Difficulty Medium
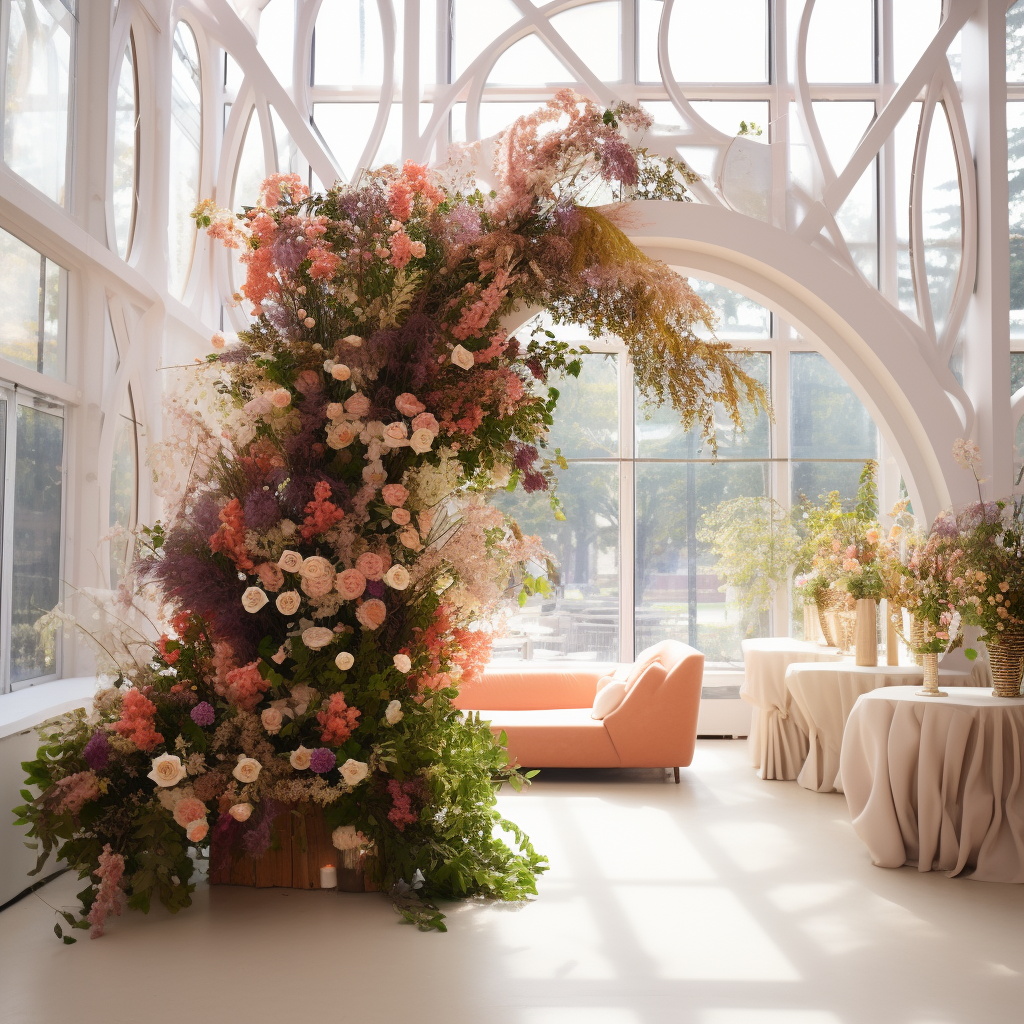
Ceremony centerpieces create a focal point for the most important part of your wedding—the vows. Whether placed at the altar, on a signing table, or beside you as you stand, these arrangements should be impactful.
Materials Needed:
• Flowers: Larger, more dramatic flowers like roses, lilies, or orchids.
• Greenery: Lush options like eucalyptus, ivy, or ferns.
• Tall vases or pedestals: For height and visibility.
• Floral foam: For securing large arrangements.
• Lanterns or candles: To add warmth to the ceremony area.
• Flower clippers and wire.
Step 1: Choose the Style
1. Tall Arrangements: Great for framing the ceremony space and adding height.
2. Low Urn or Pedestal: Classic and elegant, placed near the altar or signing table.
Step 2: Build the Structure
1. Prep the Containers: If using a vase, make sure it’s stable. For foam-based arrangements, cut the floral foam to fit securely in urns or large bowls.
2. Start with Greenery: Add greenery around the base, creating an outline and base for the arrangement.
Step 3: Add Flowers
1. Add Larger Blooms First: Start with larger blooms in the center of the arrangement or arch. Space them evenly to avoid crowding. For a symmetrical look, mirror the placement on both sides of the arch or at the ends of the arrangement.
2. Incorporate Medium and Small Blooms: Add smaller and medium-sized flowers in between the larger blooms to fill in gaps. Mix the textures and colors to create depth and dimension.
3. Cascade for Effect: If you want a cascading effect, place trailing greenery or flowers like amaranthus that flow downwards from the arrangement.
Step 4: Add Final Touches
1. Use Candles or Lanterns: Place lanterns or candles on either side of the centerpiece, to add a warm glow to the ceremony setting.
2. Optional Decorative Items: You can add soft fabric drapes around the base of the arrangement or fairy lights if the wedding is indoors or at night.
Tips
1. Consider Height: For tall arrangements, ensure the flowers are evenly distributed and not top-heavy.
2. Ensure Visibility: Make sure the arrangement doesn’t obstruct the view of the couple during the ceremony. Keep the center low or high enough to frame, not block, the vows.
Budgeting tip
Make a headtable centerpeice and use it in the ceremony - typically there is a table or alter where these are placed. Have these moved to the head table of the venue after the ceremony. This will allow you to save costs on your flowers. Note some churches do not like if you take the flowers after using them.
Simple Pew Ends - DIY Wedding Guide
How to make Pew Ends - Difficulty - Easy
Creating simple pew ends using gypsophila (baby’s breath) and roses adds a touch of elegance and romance to your wedding ceremony. These arrangements are easy to make and can be customized to match your wedding theme. Here’s a step-by-step guide on how to create these beautiful pew ends:
Materials Needed:
• Fresh gypsophila (baby’s breath) (1-2 bunches)
• Fresh roses (1-2 per pew end, depending on your preference)
• Floral wire
• Floral tape
• Ribbon (in a color matching your wedding theme)
• Scissors or pruning shears
• Wire cutters
• Pearl-headed pins (optional, for extra decoration)
Step 1: Prepare the Flowers
1. Cut the Roses: Trim the rose stems to a length of about 6-8 inches, depending on how long you want the stems to hang down. Remove any thorns and excess leaves from the lower part of the stem.
2. Prepare the Gypsophila: Cut the gypsophila into smaller sprigs, about 4-6 inches long. Each pew end will need a small bunch of gypsophila.
Step 2: Create the Pew End Arrangement
1. Form the Gypsophila Base: Gather a small bunch of gypsophila sprigs and hold them together in one hand. This will form the base of your pew end.
2. Add the Rose: Place a rose in the center of the gypsophila bunch. The gypsophila should surround the rose, creating a soft, full appearance.
3. Secure with Floral Tape: Once you’re happy with the arrangement, wrap floral tape around the stems to secure them together. Start just below the flowers and work your way down the stems, ensuring everything is held tightly together.
Step 3: Attach Floral Wire for Hanging
1. Cut a Length of Floral Wire: Use wire cutters to cut a piece of floral wire about 8-10 inches long.
2. Attach the Wire: Wrap the floral wire around the taped stems, leaving equal lengths of wire on either side. This will form a loop that you can use to hang the arrangement on the pew.
3. Form a Loop: Twist the ends of the wire together to form a secure loop. This loop will be used to hang the arrangement on the pew.
Step 4: Add Ribbon and Finishing Touches
1. Attach the Ribbon: Cut a piece of ribbon long enough to wrap around the arrangement and form a bow. Tie the ribbon around the stems, covering the floral tape. Make a bow for a decorative touch.
2. Secure the Bow: If desired, use a pearl-headed pin to secure the bow in place or to add an extra decorative element.
3. Trim Excess: Trim any excess stems or ribbon to ensure the arrangement looks neat and polished.
Step 5: Hang the Pew Ends
1. Attach to the Pew: Use the floral wire loop to hang the arrangement on the end of each pew. You can also tie the ribbon around the pew for additional security and decoration.
2. Adjust as Needed: Once the pew ends are hung, make any final adjustments to the flowers and ribbon to ensure they are positioned perfectly.
Tips:
• Use Fresh Flowers: Make the arrangements on the morning of the wedding or the night before to keep the flowers fresh.
• Coordinate with Other Décor: Match the ribbon and flower colors to your overall wedding theme for a cohesive look.
• Keep it Simple: These arrangements are meant to be simple and elegant, so avoid overloading them with too many flowers or greenery.
These gypsophila and rose pew ends will add a touch of grace to your wedding ceremony, creating a lovely pathway as you walk down the aisle.
Flower Girl Headpiece - DIY Wedding Guide
How to make a flower girl headpiece - Difficulty Medium
Creating a gyp (commonly known as baby's breath) flower girl headpiece is a charming and delicate accessory for a wedding. Gyp is lightweight, easy to work with, and has a whimsical, ethereal look, making it perfect for flower girls. Here’s a step-by-step guide on how to make a gypsophila flower girl headpiece:
Materials Needed:
• Fresh gypsophila (baby’s breath) (1-2 bunches)
• Floral wire (thin and flexible)
• Floral tape (green or white)
• Ribbon (optional, for tying at the back or adding decorative bows)
• Wire cutters
• Scissors
• Measuring tape
• Floral crown base (optional, a premade wire base or a soft headband)
Step 1: Measure and Create the Base
1. Measure the Head: Use a measuring tape to measure the circumference of the flower girl's head where the headpiece will sit. Add an extra inch for comfort.
2. Create the Wire Base: Cut a piece of floral wire to the measured length. If you’re making a full circular crown, form a loop with the wire and twist the ends together to secure it. If you’re making a half-crown or tiara style, cut a slightly longer wire and create loops at each end to attach ribbons later.
3. Optional Base: If you prefer a more structured base, you can use a premade floral crown base or a soft headband.
Step 2: Prepare the Gyp
1. Cut Small Sprigs: Use scissors to cut small sprigs of gypsophila, each about 2-3 inches long. Ensure you have plenty of sprigs to cover the entire headpiece.
2. Group the Sprigs: If you want a fuller look, group 2-3 sprigs together to create small bunches.
Step 3: Attach the Gyp to the Base
1. Start Wrapping: Begin at one end of the wire base. Place the first sprig or bunch of gypsophila against the wire.
2. Secure with Floral Tape: Wrap floral tape around the stems of the gypsophila and the wire to secure it in place. Stretch the tape slightly as you wrap to make it stick better.
3. Overlap and Continue: Place the next sprig slightly overlapping the first one, and wrap it with floral tape. Continue this process, working your way around the wire base, overlapping each sprig for a continuous, full look.
4. Cover the Entire Base: Keep adding and securing gypsophila sprigs until the entire wire base is covered. For a half-crown, cover the desired length, leaving the ends free for ribbon.
Step 4: Finishing Touches
1. Check for Gaps: Examine the headpiece for any gaps or uneven spots. Add additional sprigs where needed.
2. Add Ribbon (Optional): If you’re making a half-crown, cut two pieces of ribbon and tie them to the loops at each end of the wire base. These can be tied in a bow at the back of the flower girl’s head. You can also tie small decorative bows at intervals along the headpiece for added charm.
3. Trim Excess: If there are any stray stems or excess tape, trim them with scissors to tidy up the headpiece.
Step 5: Storing the Headpiece
1. Keep it Fresh: To keep the gypsophila fresh, lightly mist the headpiece with water and place it in a plastic bag. Store it in the refrigerator until it’s time for the flower girl to wear it.
Tips:
• Timing: Make the headpiece on the morning of the wedding or the night before to ensure it stays fresh.
• Practice: If you're new to floral design, practice making a smaller version or a sample piece beforehand.
• Alternative Greens: You can mix in other delicate greenery or small flowers for added texture and variety.
This gypsophila headpiece will add a sweet, fairy-tale touch to your flower girl's look and complement the natural beauty of your wedding day.
Tips for Keeping Flowers Fresh - DIY Wedding Guide
How to make a flower girl headpiece - Difficulty Medium
To ensure your wedding flowers stay fresh and beautiful for the next day, proper storage and care are essential. Here’s the best way to store them at home overnight:
1. Keep Flowers in Water
• Cut Stems: Before storing, trim the stems of the flowers at a 45-degree angle. This helps them absorb water better.
• Use Clean Water: Place the flowers in clean, cool water in vases or containers. Ensure the water covers at least the bottom few inches of the stems.
2. Store in a Cool Area
• Ideal Temperature: Store the flowers in a cool place, ideally between 36-50°F (2-10°C). A cool garage, basement, or laundry room often works well.
• Avoid Heat: Keep the flowers away from heat sources like radiators, direct sunlight, or kitchen appliances.
• Avoid Drafts: Make sure the flowers aren’t exposed to drafts or fans, as this can dry them out.
3. Refrigerate If Possible
• Use the Fridge: If you have space, the best option is to store the flowers in a refrigerator, as the cool temperature helps them stay fresh. Make sure the fridge is set to 36-40°F (2-4°C), not colder, to avoid freezing the blooms.
• Flower-Friendly Storage: Remove any fresh fruits or vegetables from the fridge, as they release ethylene gas, which can cause flowers to wilt more quickly.
• Wrap Delicate Blooms: If you’re refrigerating fragile flowers, like roses or peonies, loosely wrap the blooms in damp paper towels to prevent wilting or browning.
4. Mist the Flowers
• Keep Flowers Hydrated: Lightly mist the flowers with water before storing them to keep the petals and leaves hydrated. Be careful not to oversaturate the blooms, especially delicate ones.
5. Avoid Touching Delicate Flowers
• Handle with Care: Try not to handle the flowers too much after preparing them for storage, as oils from your hands can cause bruising or wilting, especially on delicate flowers like roses and tulips.
DIY Wedding flowers Ideas Hub
View More DIY Wedding Flowers Ideas
Get in touch
DIY Wedding FAQ
How many flowers are in each bunch?
Each product states how many stems they contain ie. Avalance Roses - White are 20 stems per box.
Can I order if I am not a business?
Yes, we accept orders from both the public and businesses. To buy as a business you must register an account. To buy as a member of the public - checkout as guest.
Where are you based?
We are based in: 10 St Kieran's Enterprise Centre,
Furze Road,
Sandyford,
Dublin 18 Ireland, D18 P2X7.
Our store is open to the public and businesses.
When should I order DIY wedding flowers?
Please order at least 5 buisness days ahead of when you require your flowers.
Should I collect my flowers?
Yes, we recommend you order for collection over delivery.
Where not possible we recommend delivery.
When should I order my Flowers to be delivered?
We recommend collection for wedding flowers. If you choose delivery, you should order your flowers to have a delivery date before your wedding day on a business day - not on the day of your wedding day. If you are choosing your flowers to be delivered, we recommend 1-2 days before your wedding day.
How do I keep my flowers fresh?
Our flowers are the freshest possible, when you recieve them keep them soaked in water, buckets or vases or refrigerated or in a cool area of your home until ready to use.
How do I know how many flowers to get?
We recommend you check out our instagram for inspiration and gauge how many flowers are in bouquets.
What Our Customers Say
Wholesale Flowers made it a breeze to create my own wedding flower arrangements - their guidance and selection were exceptional.
Sarah Thompson
I saved a significant amount of money by purchasing flowers from Wholesale Flowers and had a blast arranging them for my big day!
Emily Parker
The quality of flowers I received from Wholesale Flowers surpassed my expectations, and their support throughout the process was invaluable.
Jessica Ryan
"I highly recommend Wholesale Flowers for anyone looking to add a personal touch to their wedding with stunning DIY floral arrangements
Olivia Turner
Wholesale Flowers provided all the materials and assistance I needed to bring my floral vision to life, making my wedding day even more special.
